- About O2 Club
- Installation Our Theme
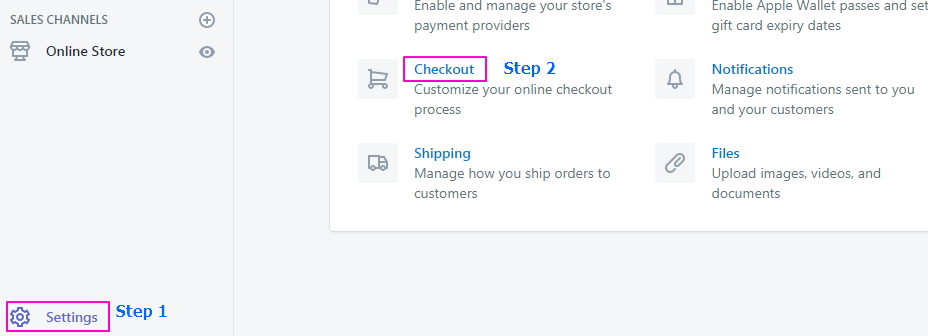
- Store Configuration
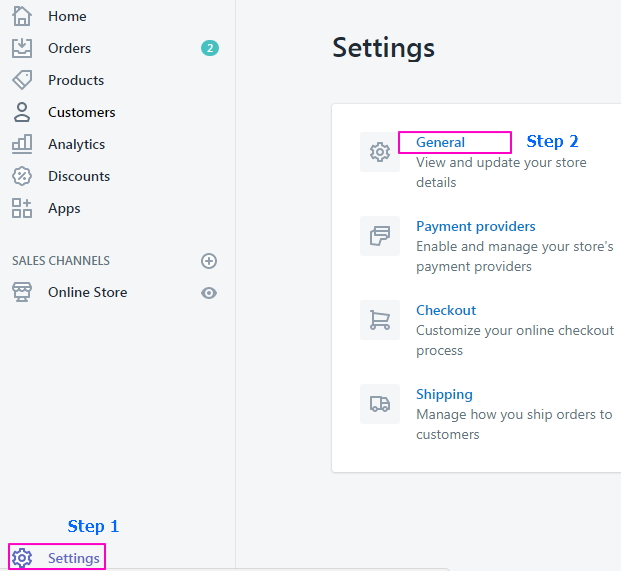
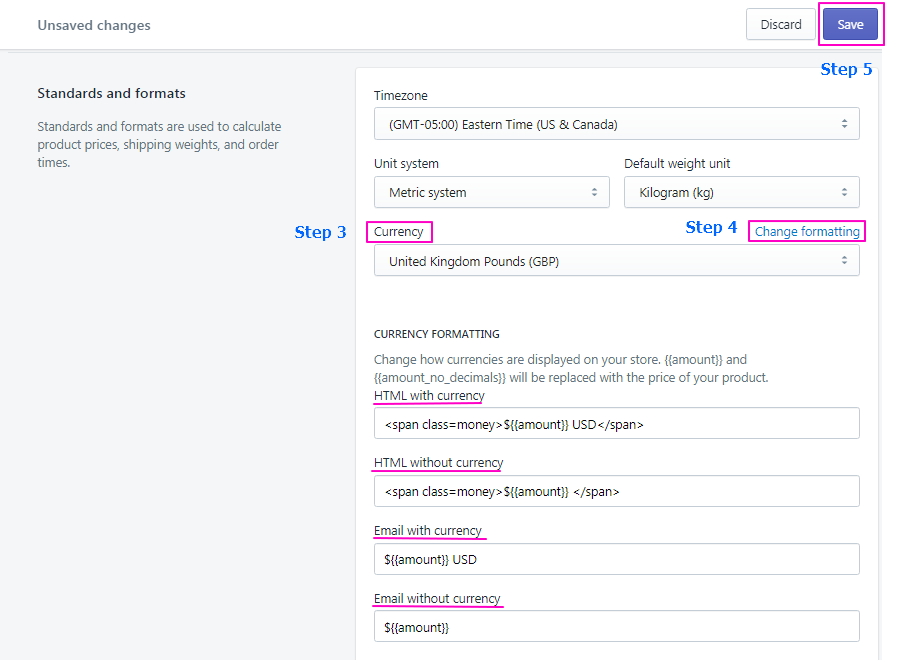
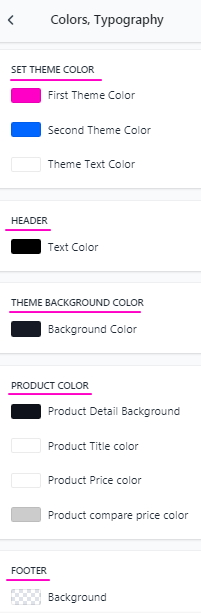
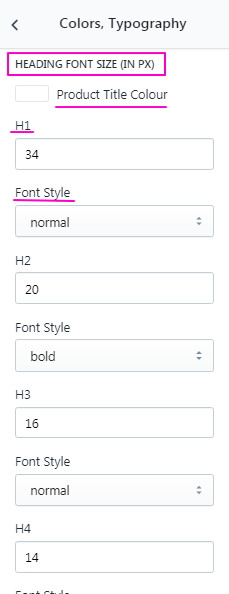
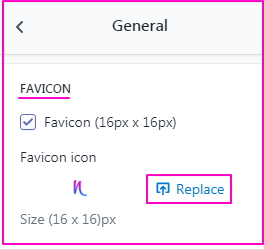
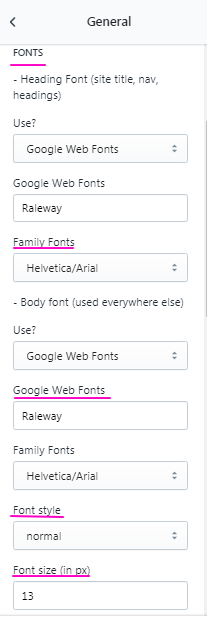
- General Settings
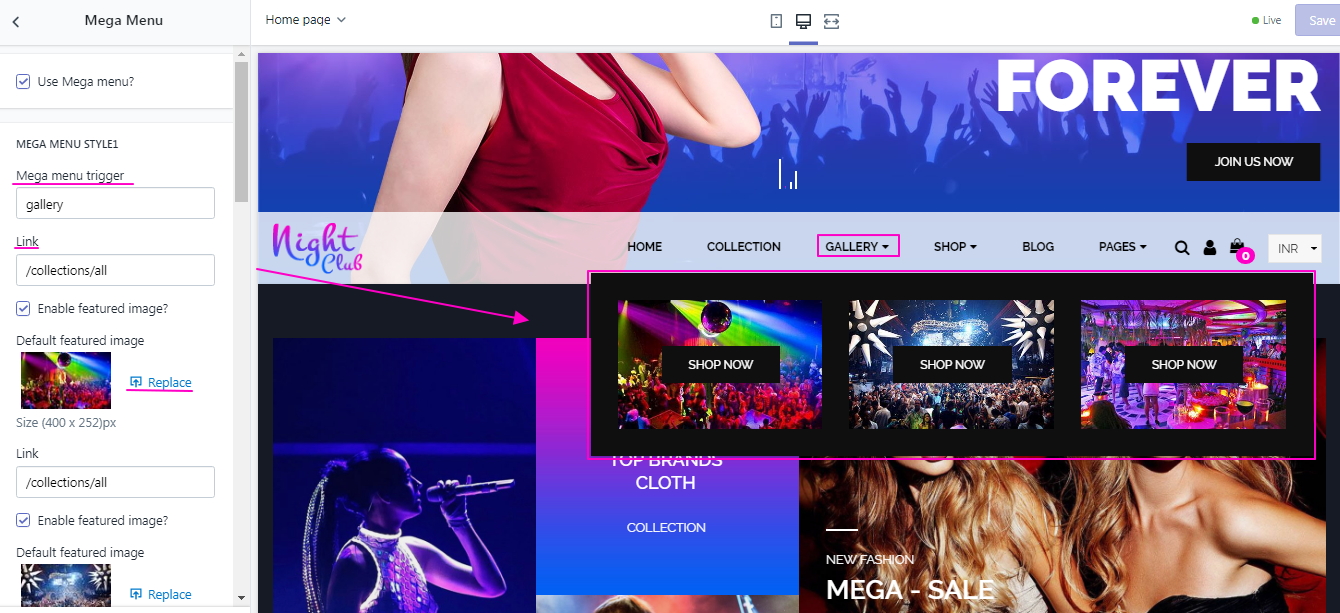
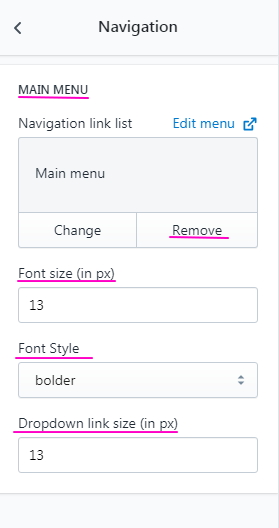
- Navigation
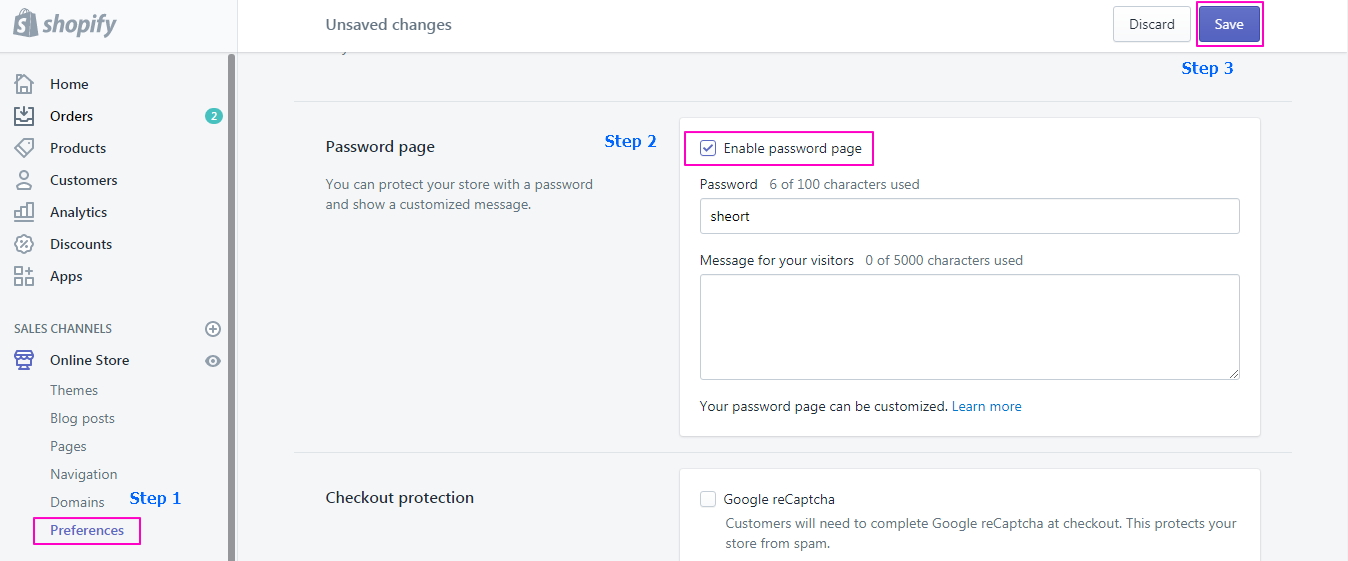
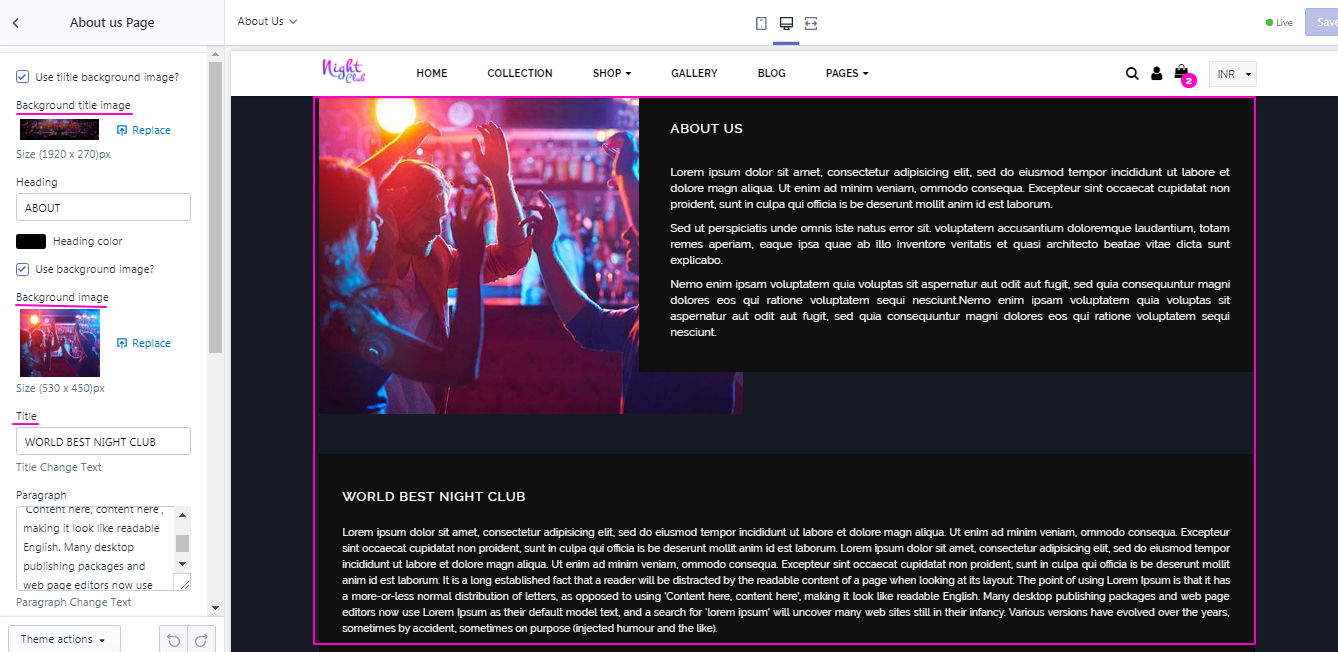
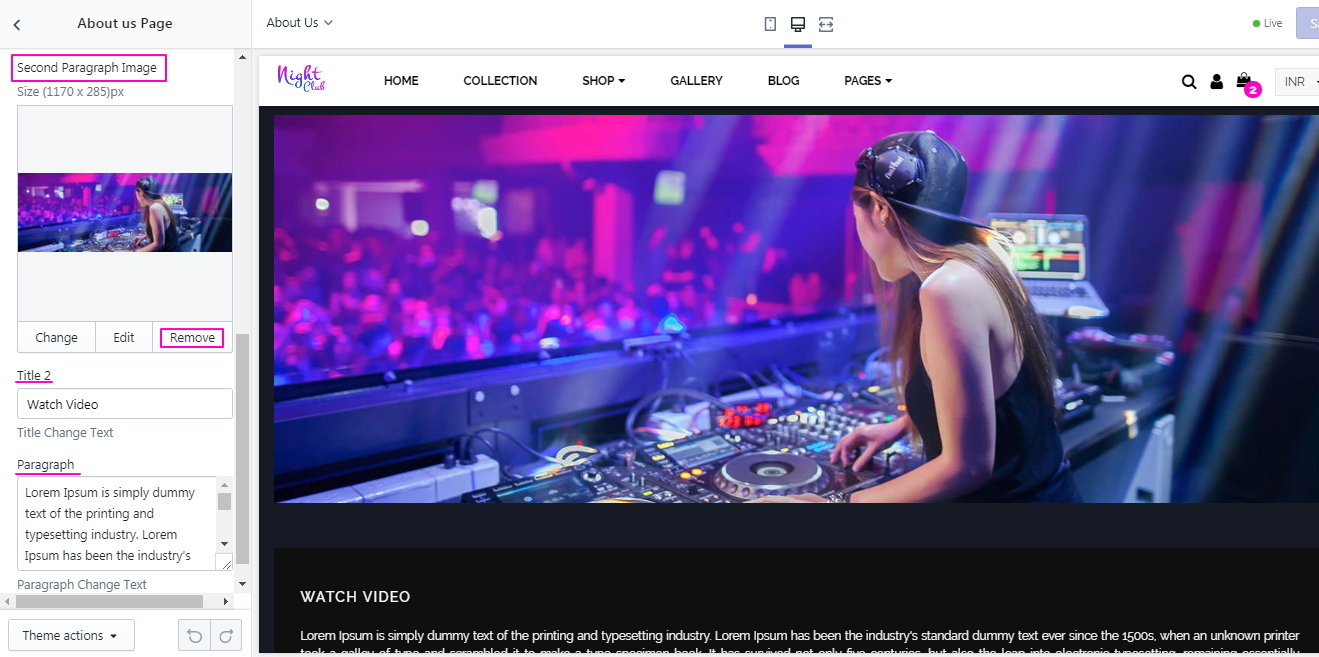
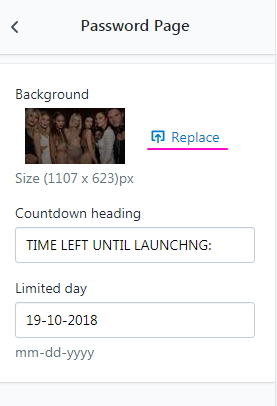
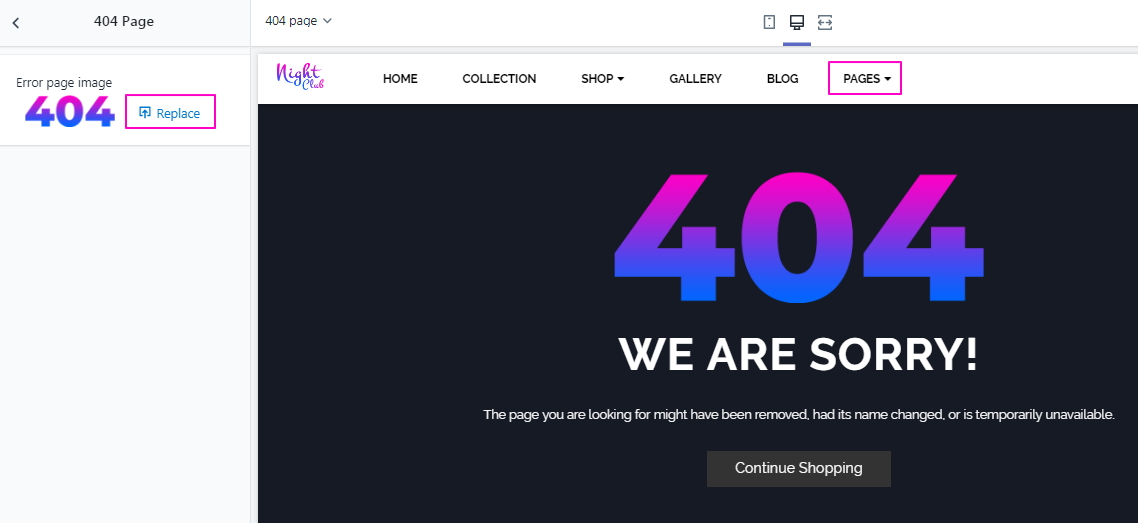
- Page Settings
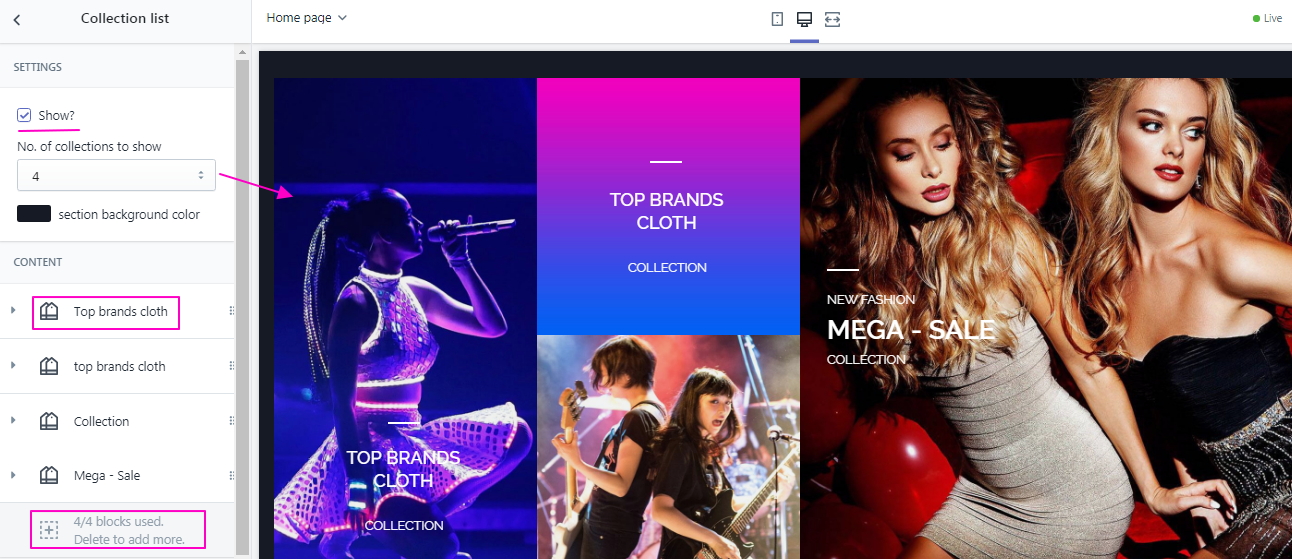
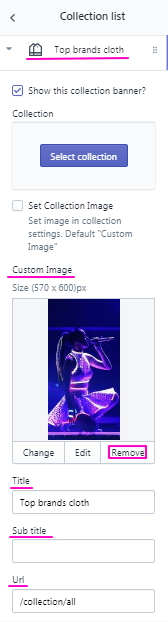
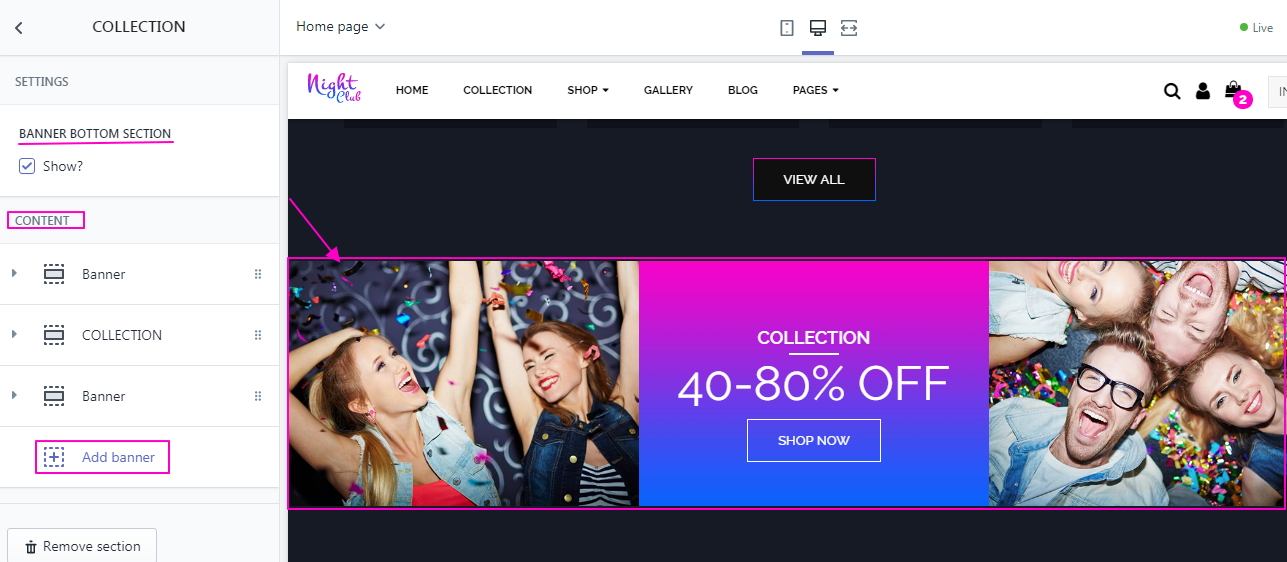
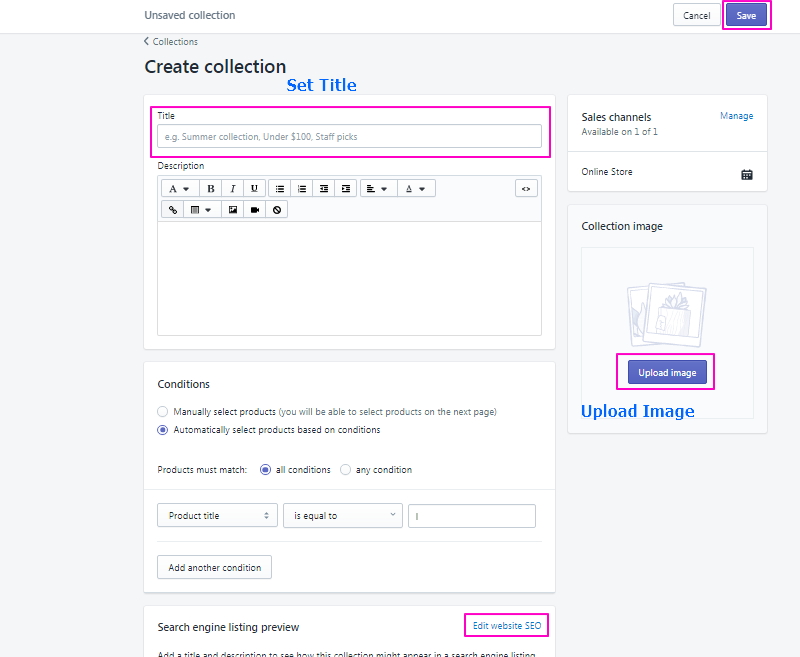
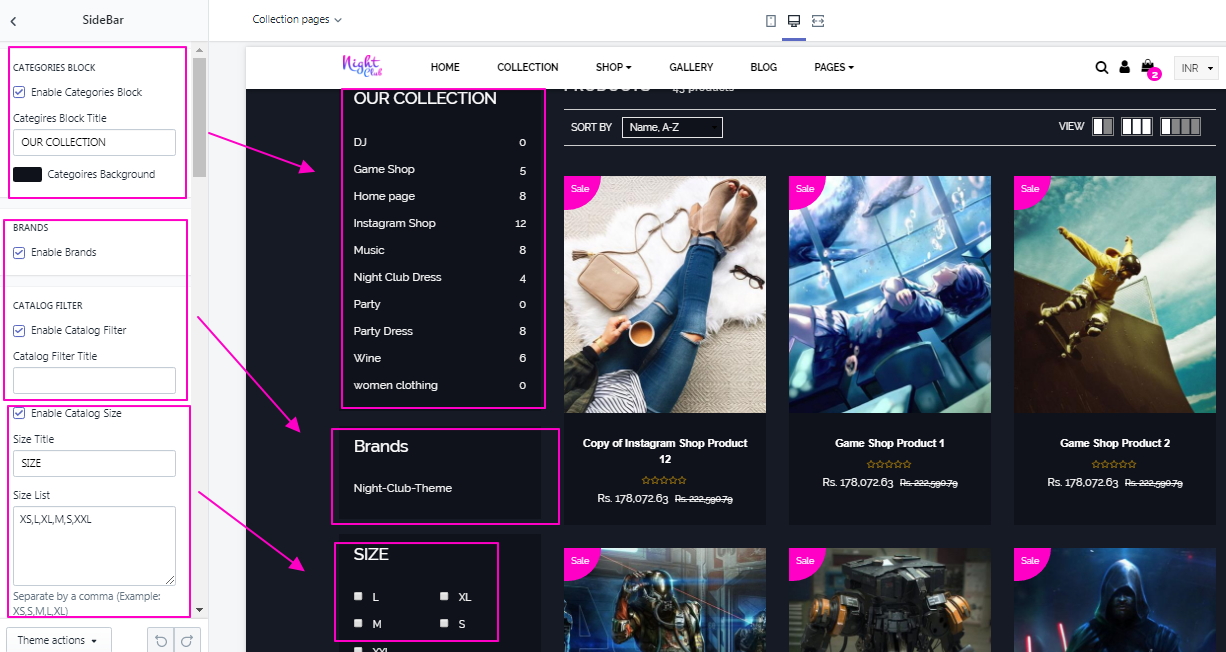
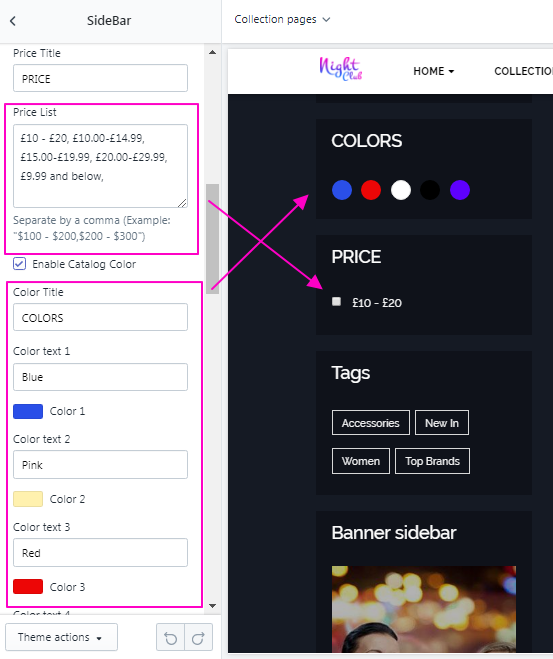
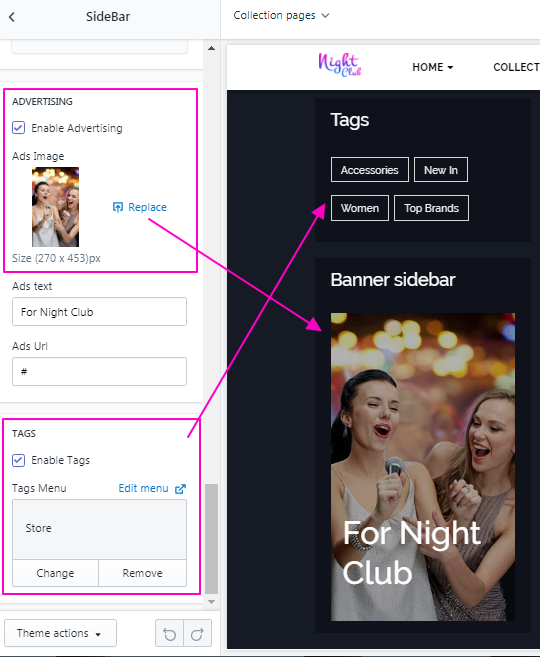
- Collection Page Setup
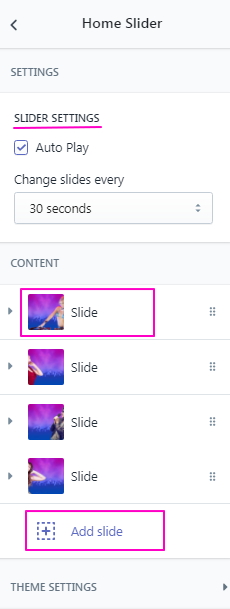
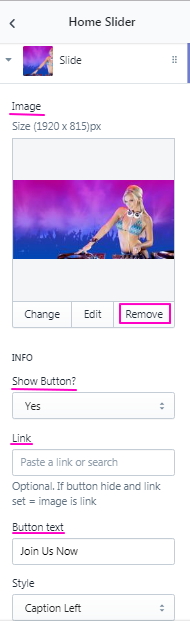
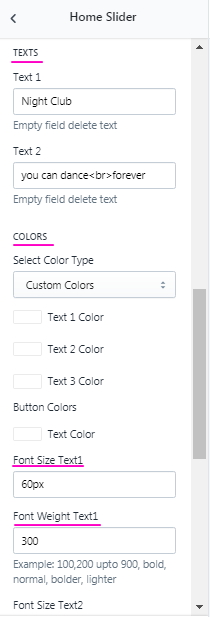
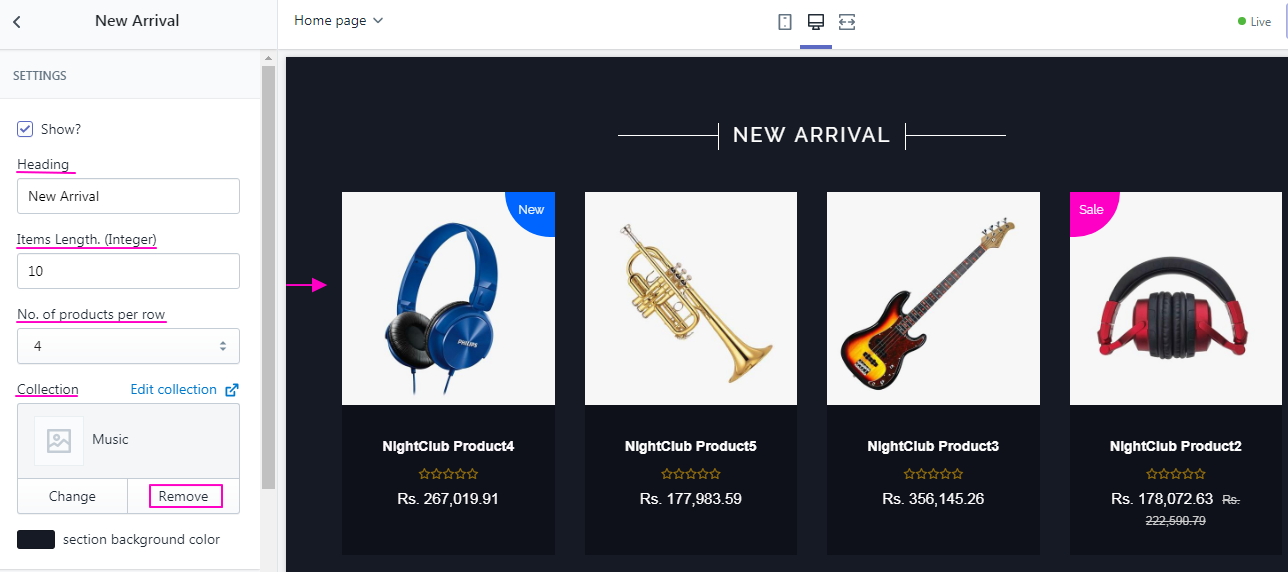
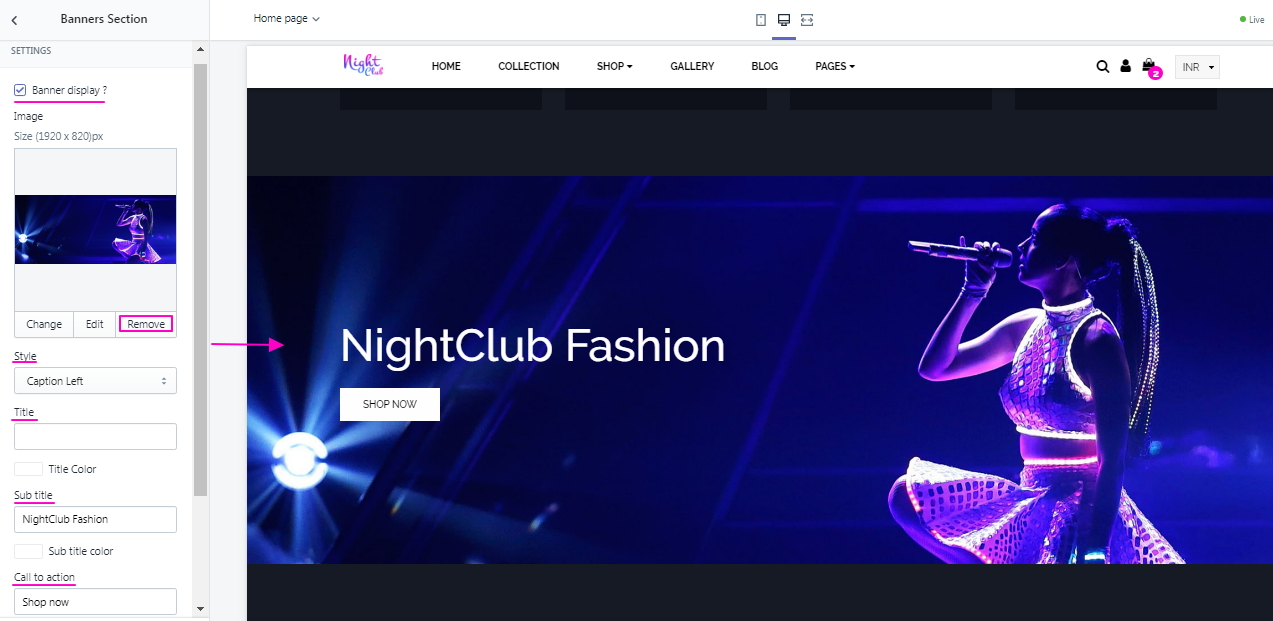
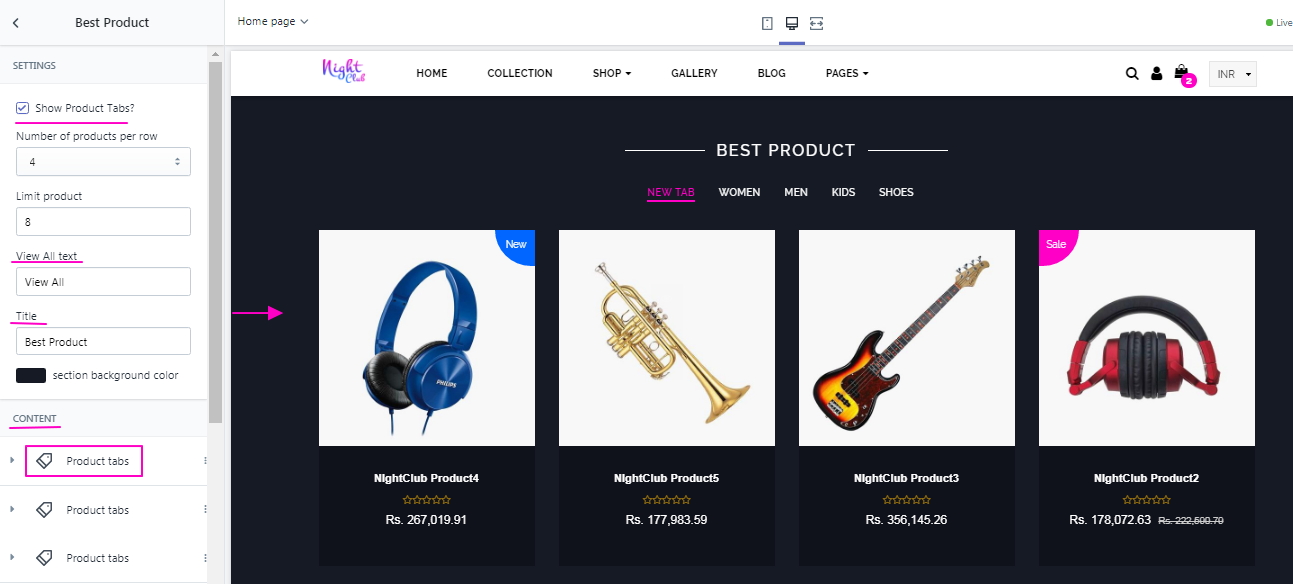
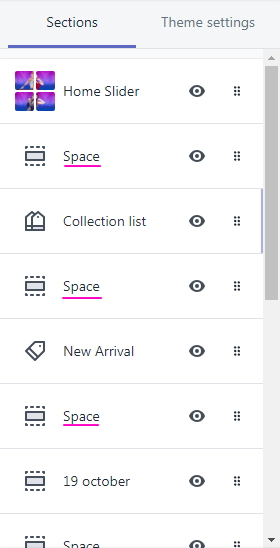
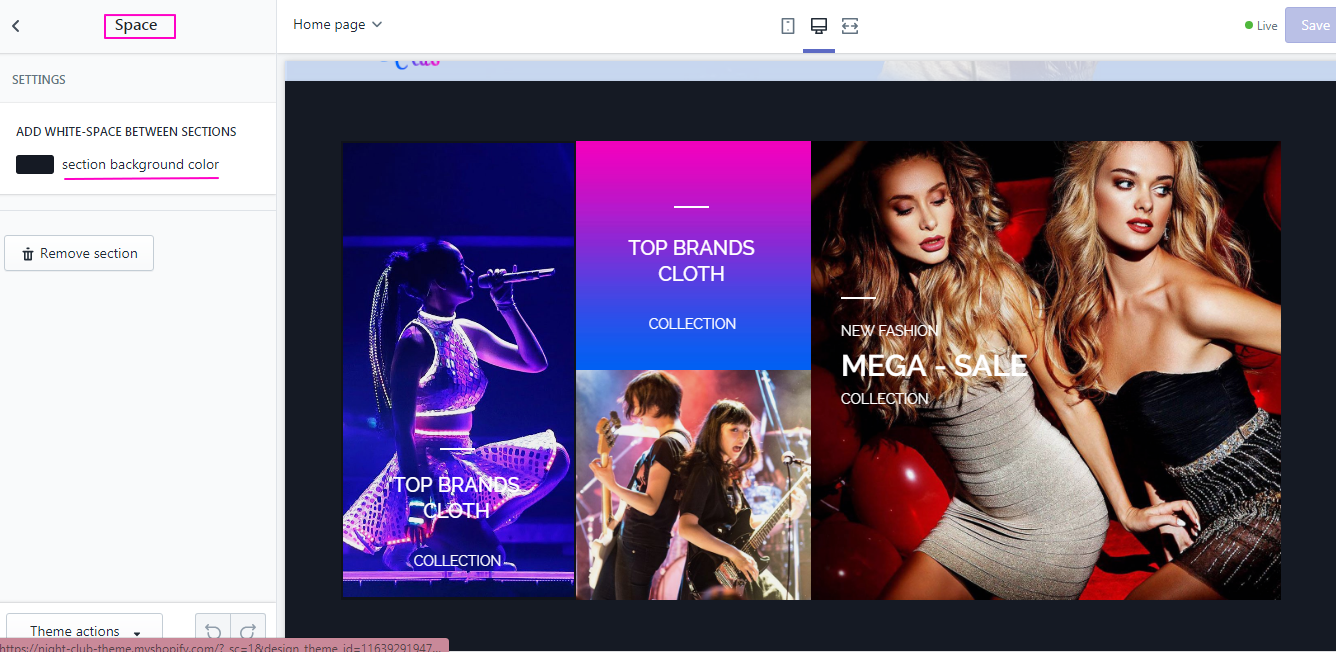
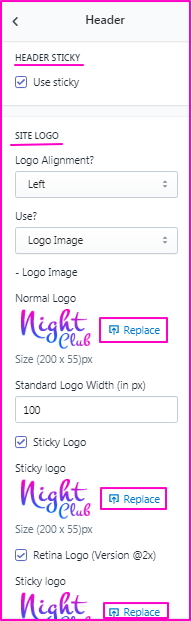
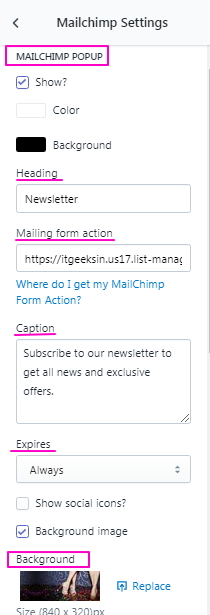
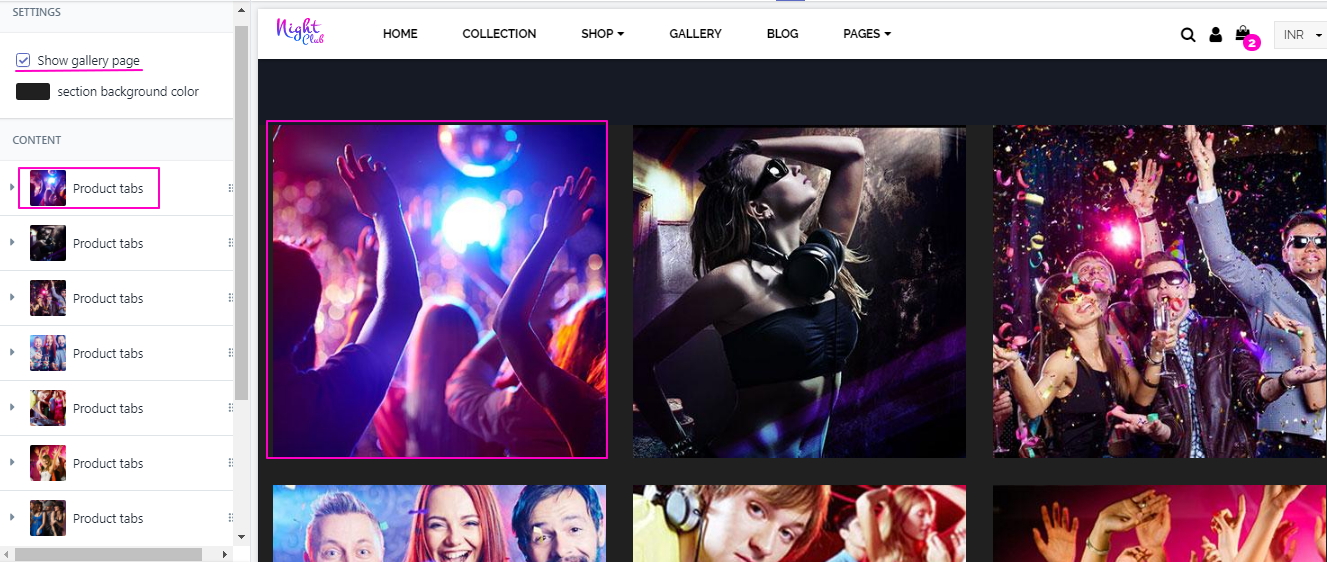
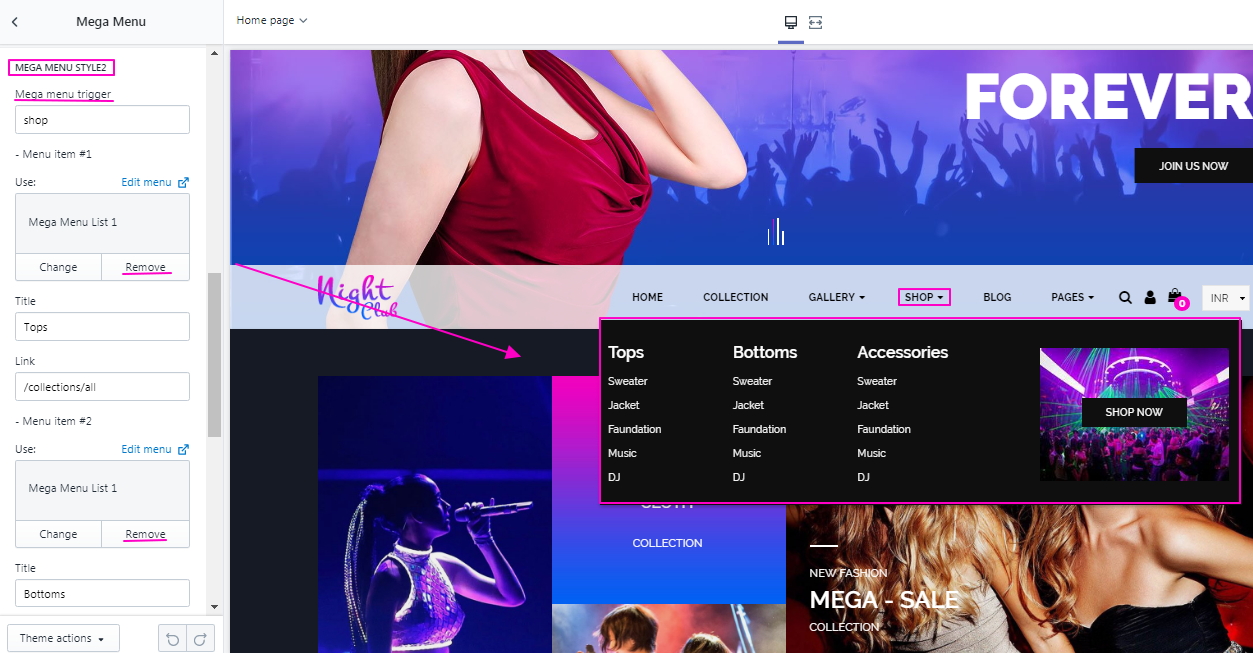
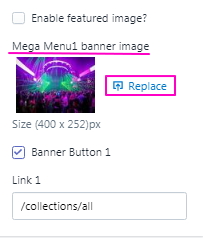
- Theme Sections
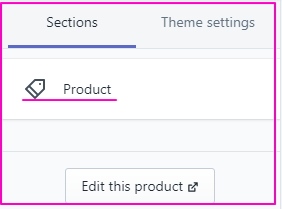
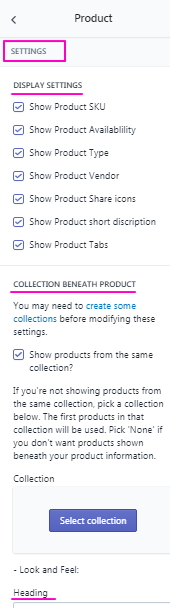
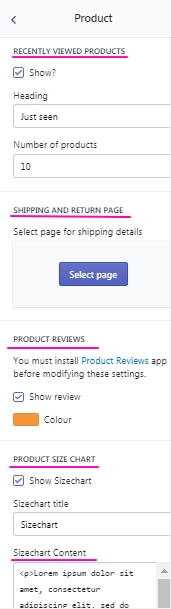
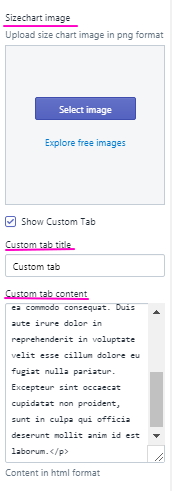
- Product Page Section
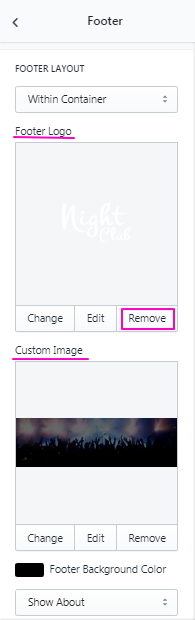
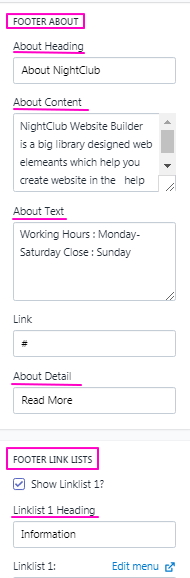
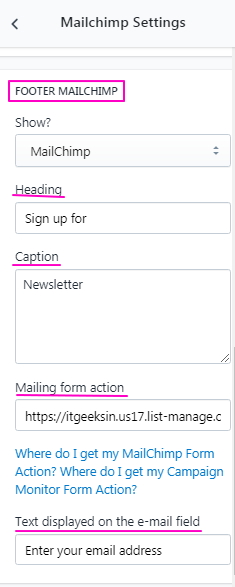
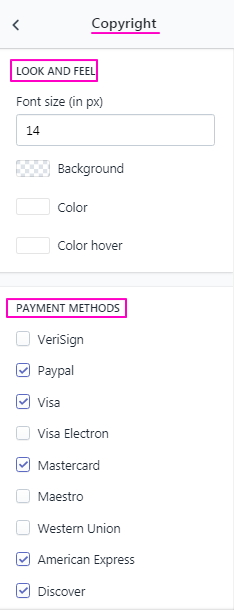
- Footer
Copyright © 2018 O2 CLUB and All Rights Reserved.
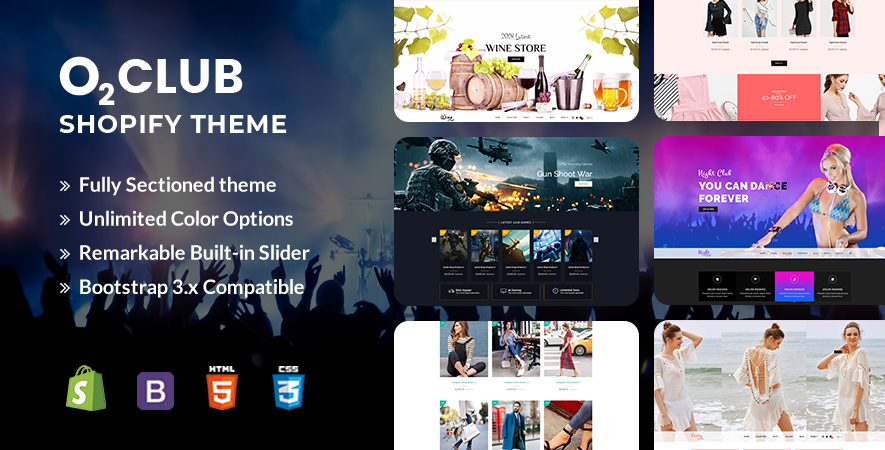
O2 Club comes with the neat and responsive Shopify theme which makes your store looks great not only on PC but on other devices such as mobile, tab etc. as well. Incorporated with useful layouts boosts your online store in the world of fashion.
High performance, extensive documentation and speedy support are assured add-ons as customer satisfaction is our most important goal. Theme is highly customizable so after installation, you are all set to go with its awesome features.
After purchasing our theme, you need to go your download area, click on button Download and select download All files & documentation. Once the download is complete, unzip the file and you would see the following packages:
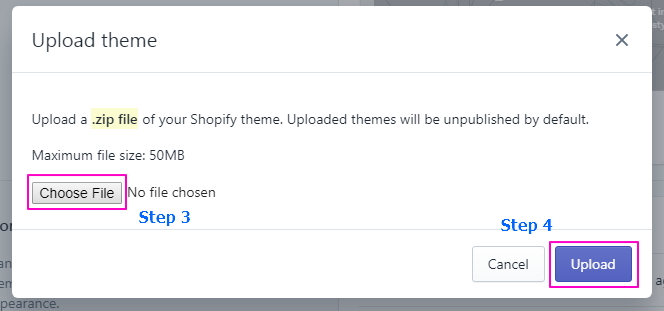
To install the theme, log in to your Shopify store and go to the Themes. From there, click on Upload a Theme and upload the .zip file from the ‘upload’ folder included with this package.

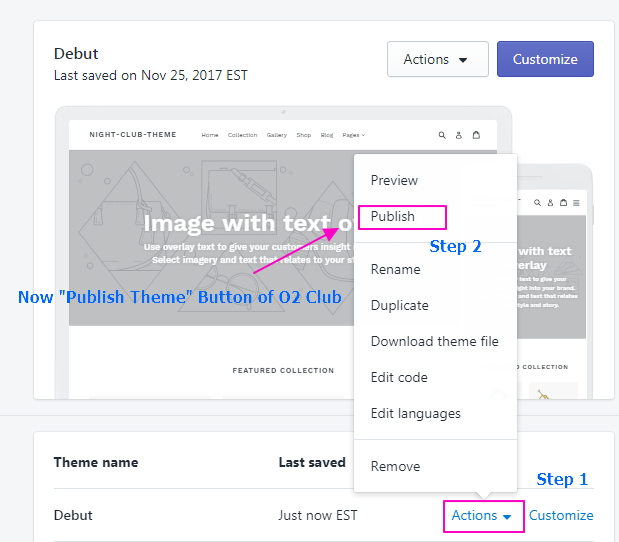
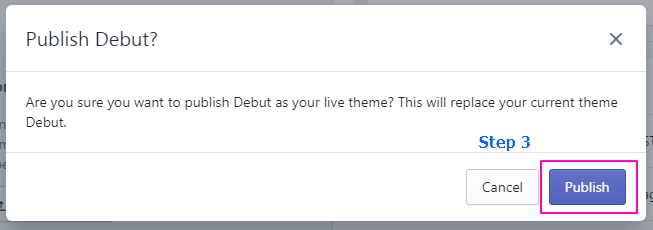
If your store is currently live and using a different theme, you select button Publish theme what you have just upload.
To enable product review, please install below app:

Now you can customize below
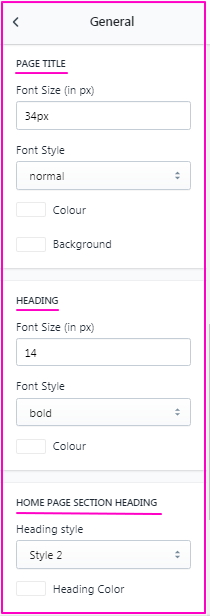

Now you can customize below
Now you can customize below
Now you can customize below

Now you can customize below
Now you can customize below